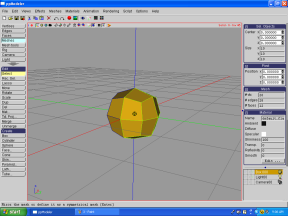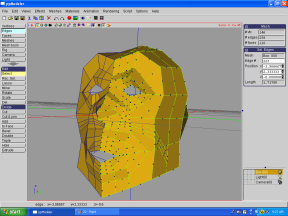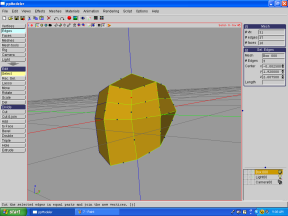
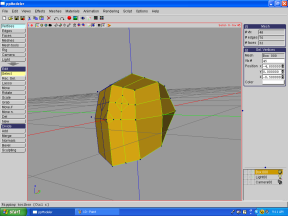
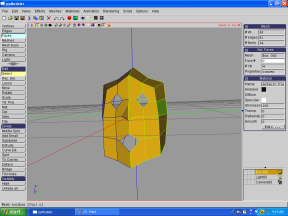
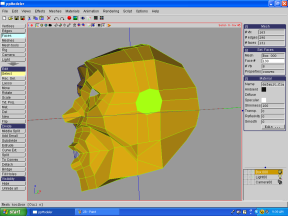
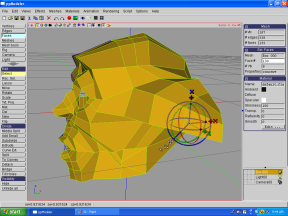
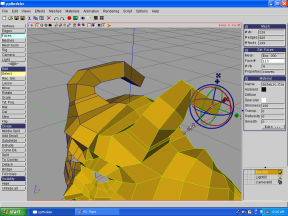
I want to add some eyes, so I'm "X'ing" out the area for the eye with a horizontal cut.
|
|

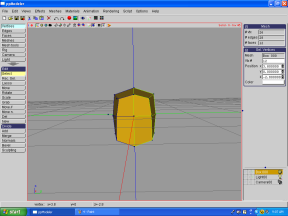
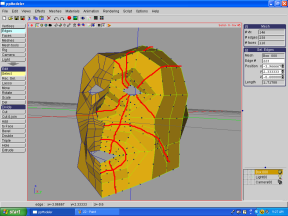
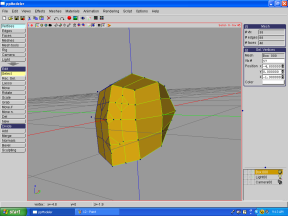
I'm finishing the "X" with a vertical cut of the model.
|
|
|
|
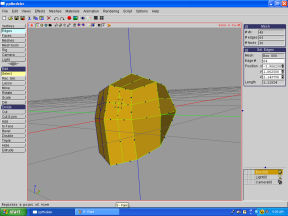
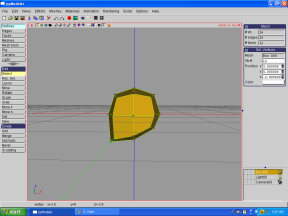
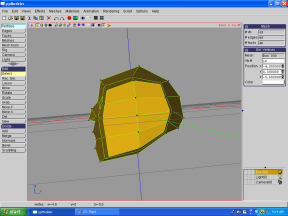
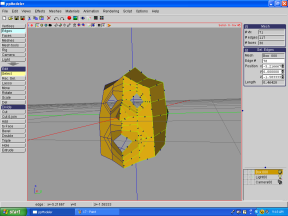
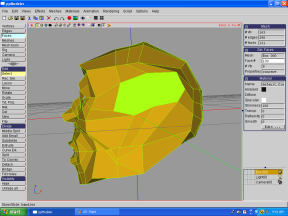
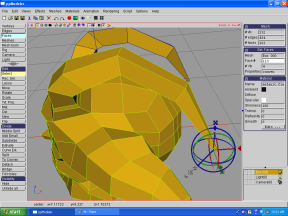
Now I'm making the rough shape for the eyes.
|
|
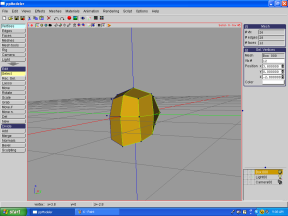
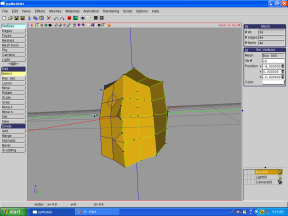
I then roughed out the shape for the nose with a triangular prism shape.
Since there were lines that already made a cross-section ("X"), I didn't need to "X" out
the area for where I wanted to place the nose.
|
|
|
|

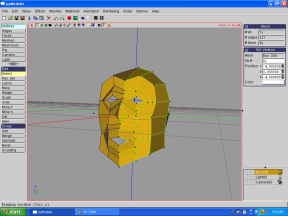
I made the horizontal line for the mouth.
|
|
Now I made a rough cut for the mouth on the cross-section ("X").
(The symmetrical line in the center of the model is vertical cut on this model,
so that's why I only had to cut a horizontal line to complete the cross-section ("X"))
|
|
|
|
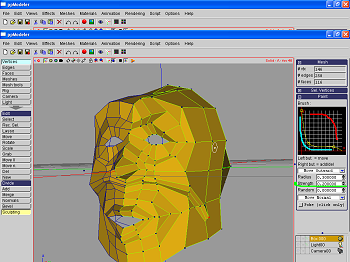
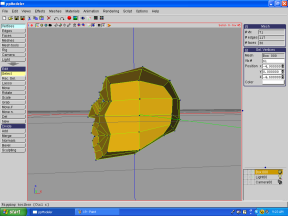
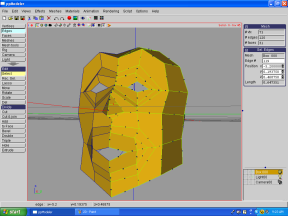
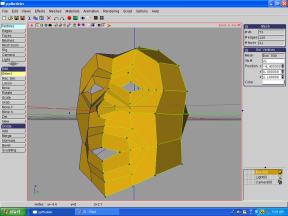
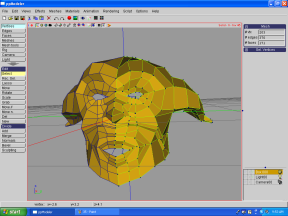
I moved the symmetrical lines to outline the general model.
|
|
(Frontal View Of Shape)
|
|
|
|
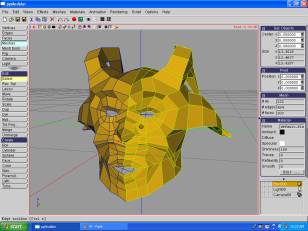
I cut out the faces for the eyes and mouth so I wont get confused with lines.
|
|
All I did was a few loop cuts around the eyes and mouth, I didn't loop cut around
the nose because I didn't need to add detail around the nose (but I do need to add
detail on the nose). I�ll just make direct cuts on the nose since I would like to
further detail the shape. If I wanted, I could have just cut a circle around the
eye area, without it connecting to the symmetrical line and it would have still
been a good cut.
|
|
|
|
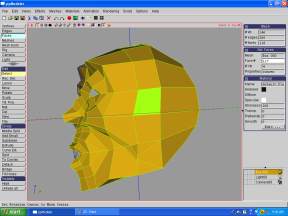
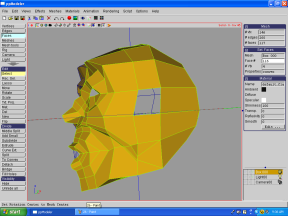
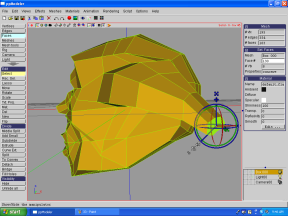
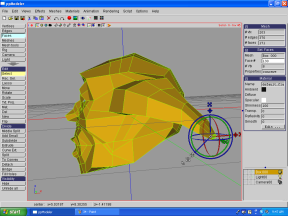
Now you can rough out the shape of the with the sculpting tool in combination with
moving vertices that move out of order that cause unpleasant creases.
|
|
(Side View Of The Shape)
|
|
|
|
Now I am going to detail the nose with a cut for the nostril canal.
|
|
I tweaked the nose to what I see fit. I made this cut to make the nose wider,
instead of a triangle prism looking nose. If you want to make a low polygon face,
you may want to add just a few lines or/and extrusions to define the rest of the shape.
|
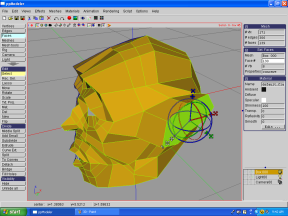
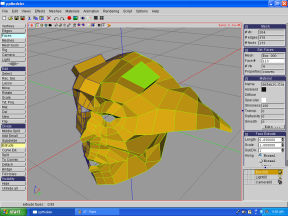
Selecting the area of where I want to create an ear.
|
|
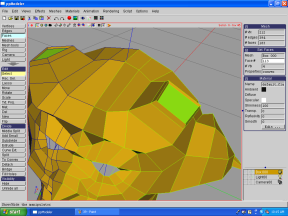
I delete the face to leave a hole for easily shaping the contour of the ear.
|
|
|
|
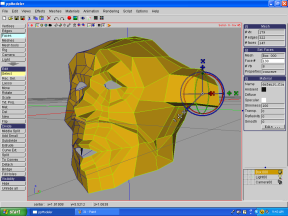
After making a few cuts to add control points to the ear area,
I close the ear off with a face to extrude it.
|
|
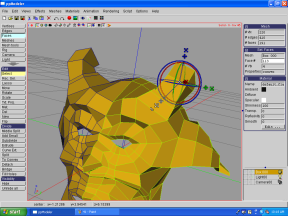
I reshaped the ear base for extrusion.
|
|
|
|
I extruded and reshaped the ear.
|
|
I extruded and reshaped the ear.
|
|
|
|
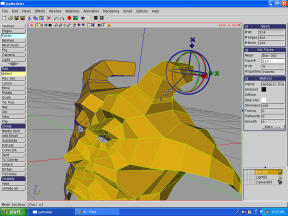
I extruded and reshaped the ear.
|
|
I extruded and reshaped the ear.
|
|
|
|
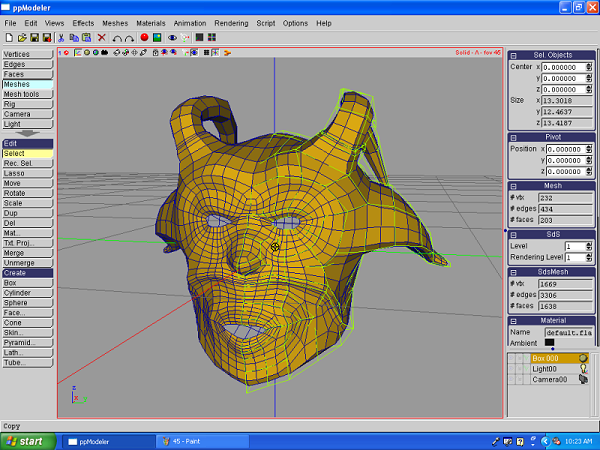
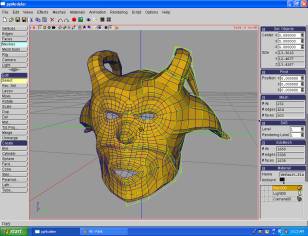
I extruded and reshaped the ear till I was satisfied.
|
|
I reshaped some areas around the ear with the sculpting tool.
|

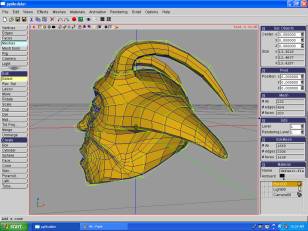
I shaped the area for where the horns will be.
|
|
I extruded and reshape the horn.
|
|
|
|

I extruded and reshape the horn.
|
|
I intruded and reshape the horn. The intrusion acts as the skin bulging around the horn.
|
|
|
|

I extruded and reshape the horn.
|
|
I extruded and reshape the horn.
|
|
|
|
I extruded and reshape the horn.
|
|
I extruded and reshape the horn.
|
|
|
|
I extruded and reshape the horn.
|
|
|